Now here's DIY no. 8 - Part 2
HAIRBAND EAR COVER
I've never owned a headband and I always thought I would buy one but I never got around to it. Finally, this winter I decided to make one of my own from the items in my DIY tool box and make up kit. Turned out to be a pretty quick, easy and fancy DIY that requires nothing but some day-to-day items, some industrial strength glue and some creativity… And it could even work perfectly as an xmas gifts.
Here's what you need:
1. Headband2. Two large powder puffs
3. All purpose glue
4. Lace trimmings
5. Fabric discs
6. 2 Diamante buttons (optional)
Well, this DIY was really easy… Just glue glue glue and stick stick stick and all done :p No kiddin'…
Step 1: Glue the powder puffs on to the tips of the headband. Make sure the puffs are large enough to cover the ears well and also that when you glue them to the headband they come down well enough to cover the whole of the ears. For mine, I only glued 1/3rd of the puff.
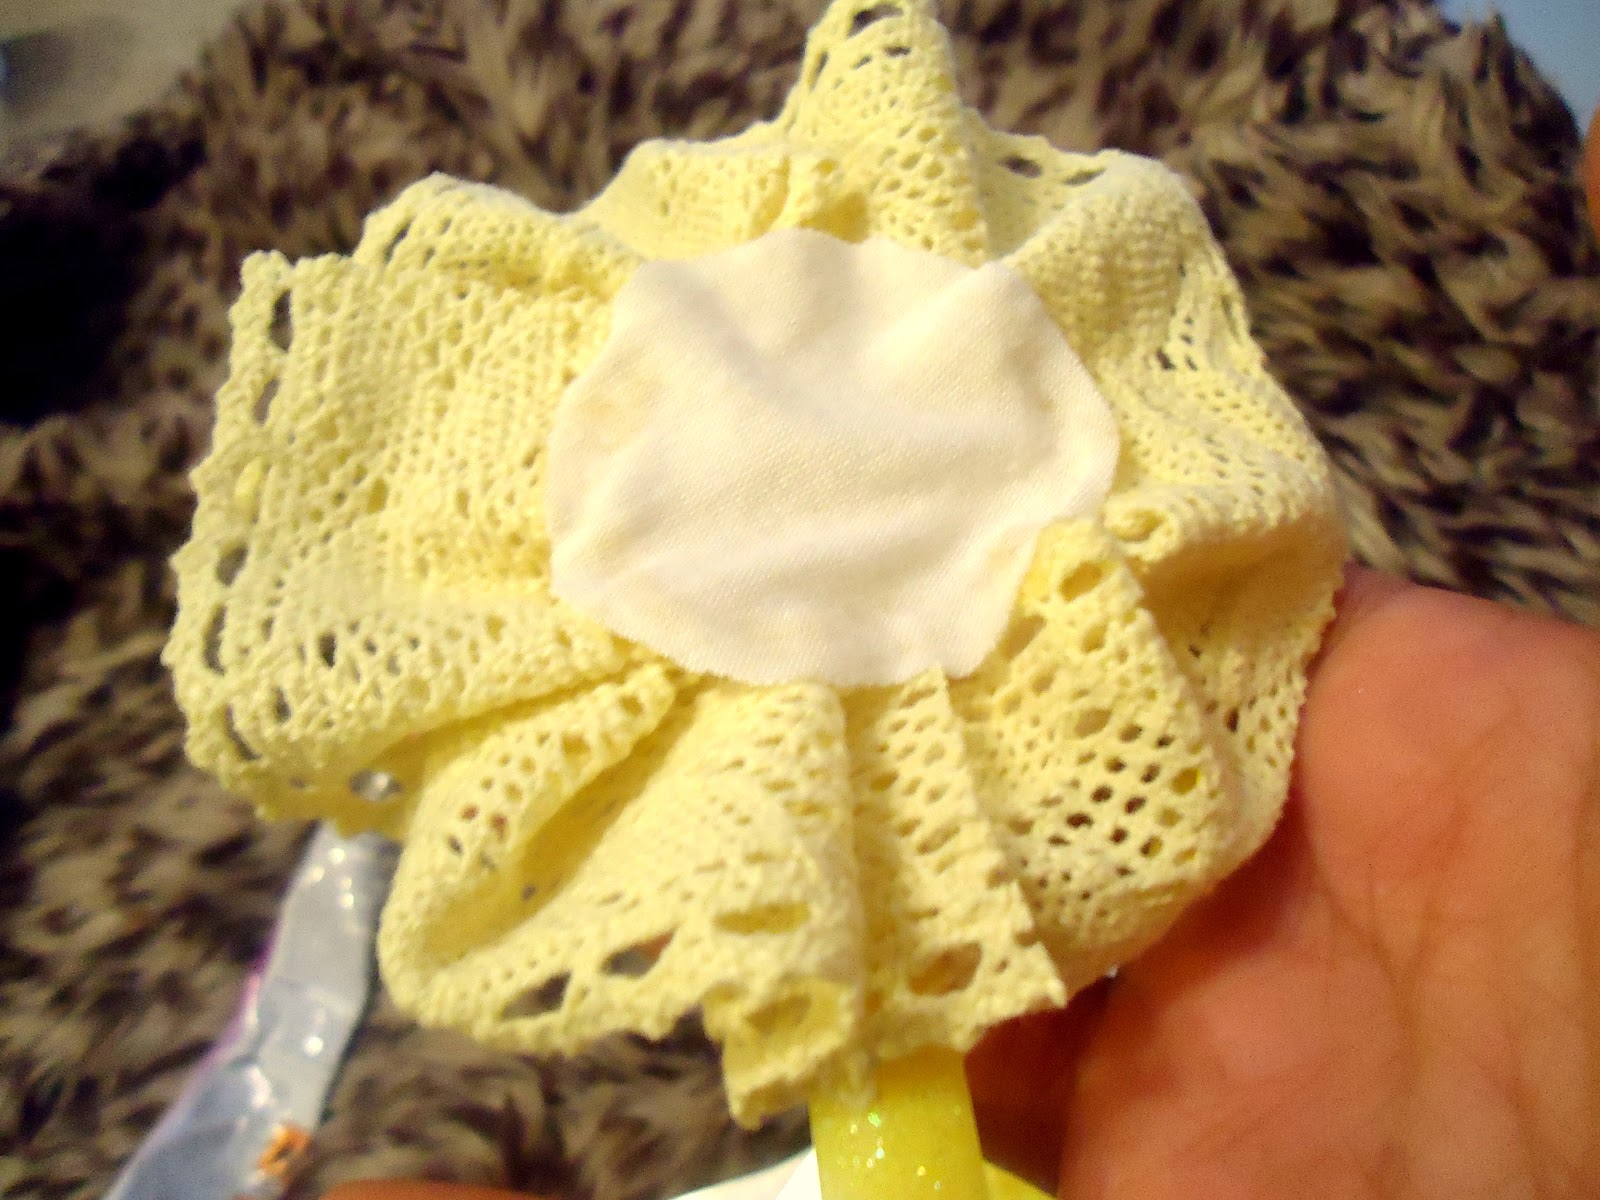
Step 2: Next, glue on the lace in a frilly circular design on the back of the puffs just for some pretty details and also to cover and secure the back of the puffers on to the headband.
Step 3: Now, cut out a fabric disc out of a piece of cloth and glue them over the trim centre.
Step 4: Lastly, glue the diamanté buttons over the trim centre.
And there you have it… Pretty ear covers made in less than 10 minutes for as cheap as chips.

This christmas, stay healthy, stay warm, stay happy…


Comments
Post a Comment