So, I hope you had a fabulous halloween (and weekend)!
Like I said in my "Happy halloween" post I had no costume for this year's halloween that I had thought out of well beforehand for the saturday night halloween party. But all hope wasn't lost, I had my great big native american head wear for one, but I had nothing to wear that would make a good native american costume... Or so I thought, cause I had completely forgotten about the dress I did have. Well, with a bit of edge trimming, a bit of face paint and some temporary tattoos, everything was just PERFECT!
Here is what my costume looked like (before the temporary sharpie tattoos):
I absolutely love my head dress <3
Well, we had a really great time at the party with home-made delicious punches, classic horror movies, takeaway dinners, loads and loads of cakes, and a lot more chitter-chatter. So much that I even forgot to take pictures :p Anyway, this post is not about my costume but about my halloween costume inspired art:
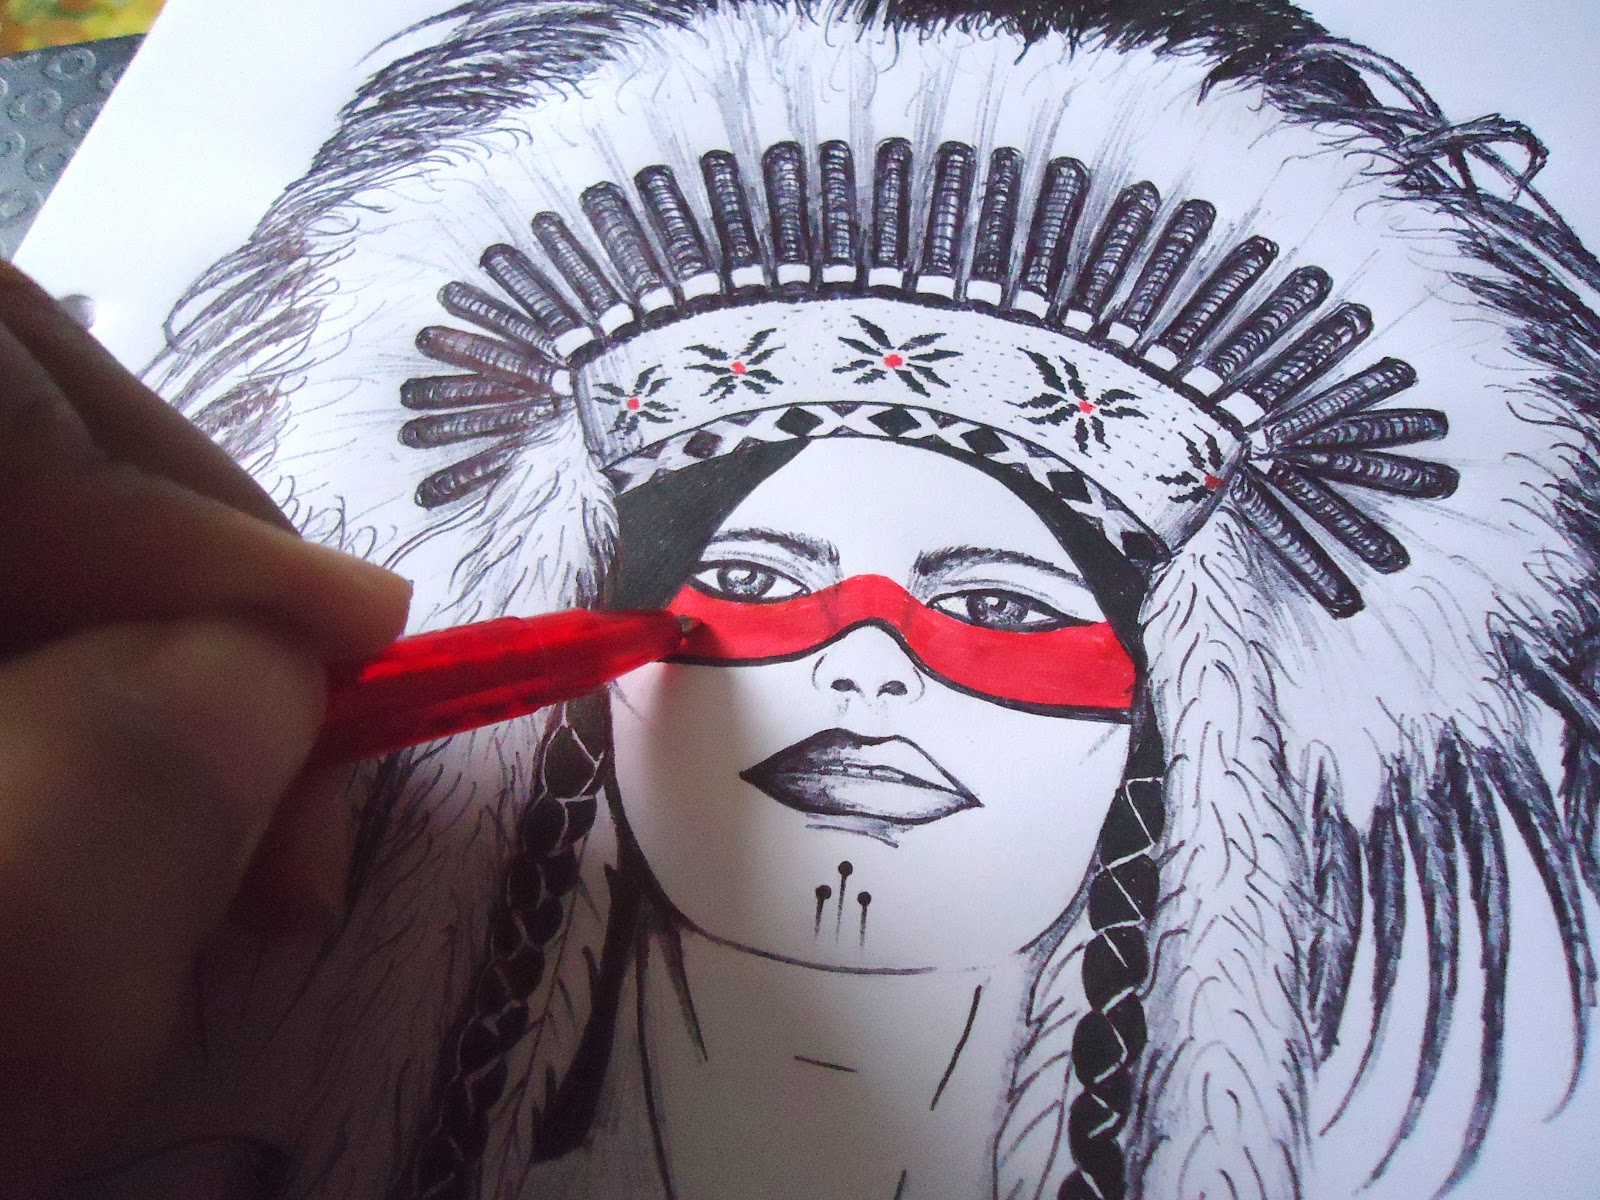
So, here's how I made it:
First of all, start with a draft sketch using a pencil. I like to make it as detailed as possible. Remember, if your draft doesn't look good, neither will the final product, after all it is your "datum".
Next, I used my black pens, gel and ball-point. I absolutely love working with pens, ball-point pens are very versatile since it can be used for shading and creating gradients and depths. However, for more rigid shades with crisp and smooth effect, I prefer gel pens.
Next, it's time for the details... A native american head-dress is adorned with beads, fur, strings and feathers... Lots and lots of feathers... So, it was time to add all that texture to my drawing....
When I started with the idea I thought the hardest part would be drawing the feathers, but turns out it was rather simple to draw individual feathers for the head dress.
Drawing feathers can be done in 2 simple steps:
Step 1: Draw the outline of the feather with three lines divided into two sections, much like a single coconut leaflet.
Step 2: Then just fill in one of the sections in slanting strokes or just quick zig-zag filling with the pen. Do the same with the 2nd section but in the opposite direction.
And that's it...
To make a more shapely feather is equally simple:
First draw the centre line.
Then draw the outline just like you would a leaf but just add a few edgings and vanes.
And that's it. A simple cartoon feather is done! You can add more details depending on how realistic you want to make it.
And so, I added the feathers to my head dress along with threaded and furry textures and beads for the head band.
Finally time for some colour... I love colourful paintings and pictures, but I also love pictures with minimal colours on a mostly black and white theme. Hence, for this picture I only chose the primary colours: red, yellow and blue, over the black and white sketch... After all, this picture is more about textures than colours and shades.
I used different mediums for the colour, like gel pens, pencil colour for more texture, and also sketch pens.
And there you have it:
Enjoy and have a happy week everyone!


Comments
Post a Comment