This phrase fits perfectly with me. I really am someone who wears her heart on her sleeve. Unfortunately it is not always desirable as sometimes people can see through my smile and see how much disgusted I am with them XD… Jk! But really, I cannot hide my emotions that well and let it all out.
Anyway, this post isn't about me it's about my latest DIY that I absolutely adore, more so cause it speaks out my mind. We all love it when we can find ways to up cycle our old clothes and accessories ya? Well, I got this idea from seeing a lot of ladies attaching elbow patches to their tops, jumpers and coats. So I decided to do one of my own too! It is very very easy and quick, done in 10-15 minutes and your old jumper has a whole new personality now! Here's what I did:
All you need:
1. A jumper2. 2 iron on heart patches
3. An iron
Step 1: Place the patch on the position you want it to be on. For precision you can do it by putting on the jumper, placing the patch where you want and pinning it together before taking the jumper off again.
I like iron-on patches. They require no sewing, no gluing… Just iron them on and that's it, ready in a jiffy. The patches I bought were two scarlet velvet patches from eBay (here). It took long to come due to issues with postage and Royal Mail screwing with the delivery… Anyway, they have patches made from all sorts of fabrics like velvet, sequin, 3D floral, etc. I would definitely love to do more DIYs of different sorts with them.
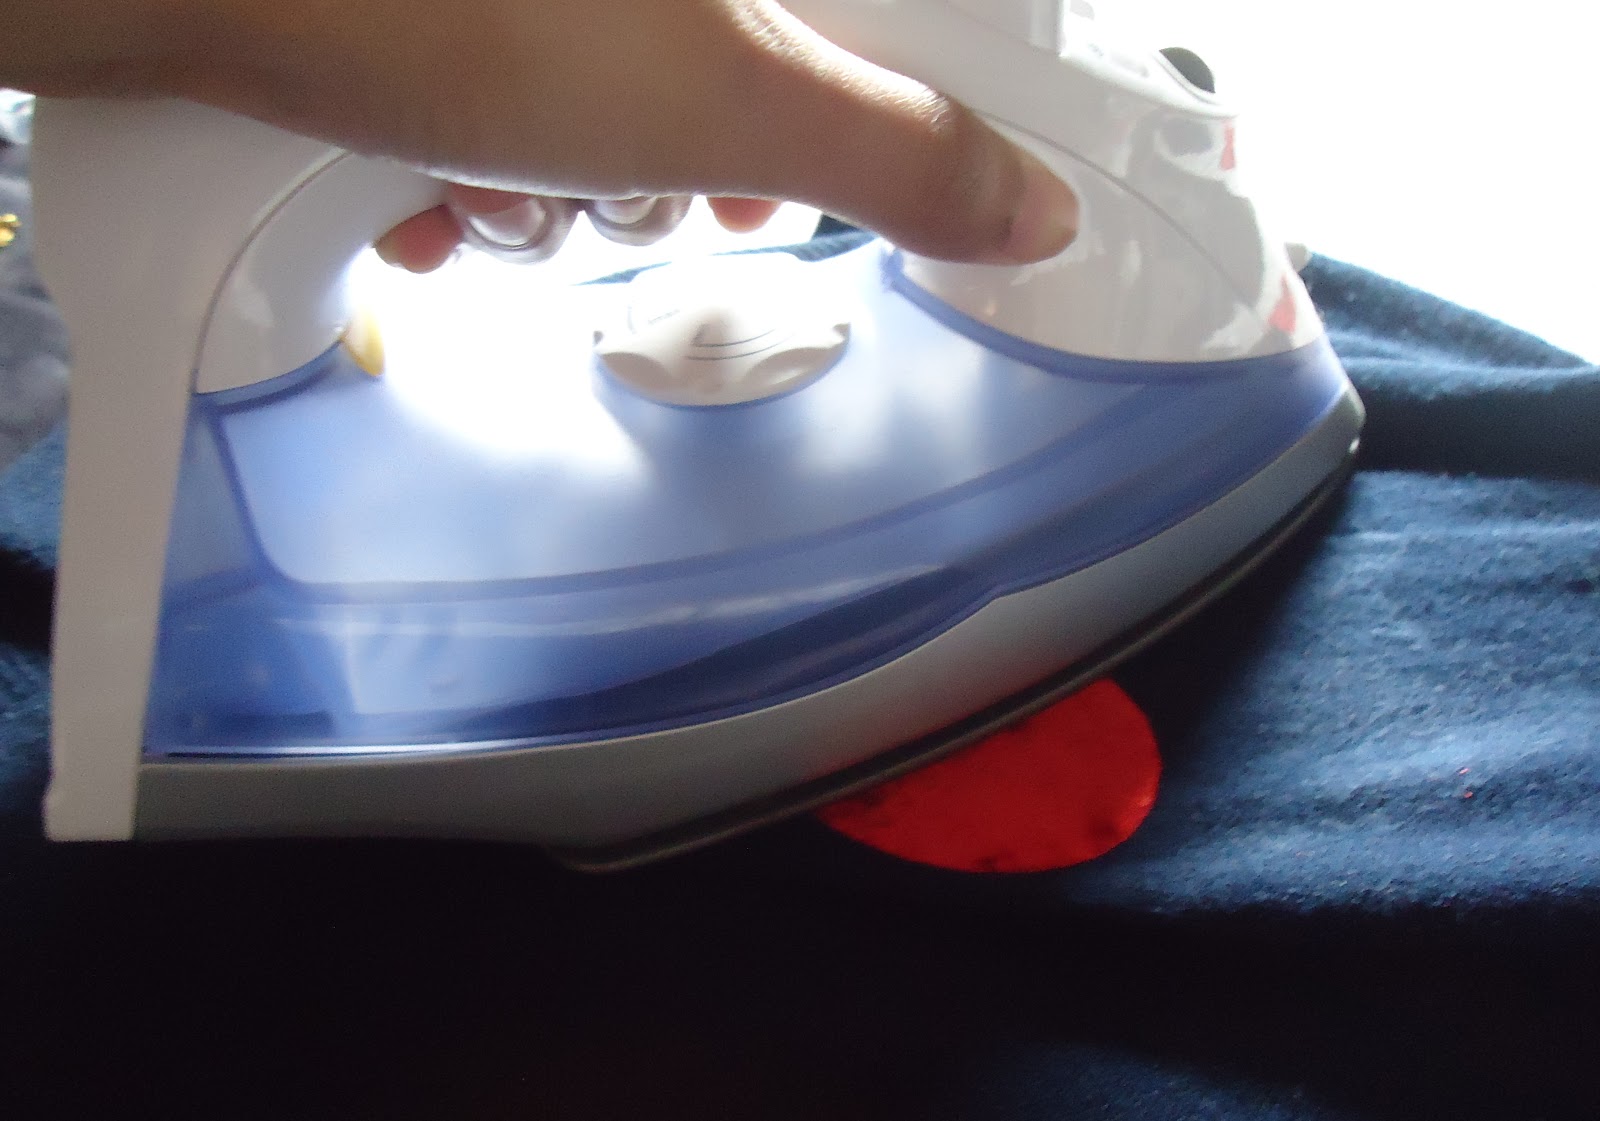
Step 2: Once on the desired position, iron the patch directly as per the instructions that come with the patches. Generally for rhinestones, it is advisable to place a hankie over it before ironing. Setting time depends on the type of material.
Warning: DO NOT IRON CLOTHES WHILE STILL WEARING THEM!
Sigh! You might think, "that's so obvious you silly" but you might be surprised by how many people don't know it!!
Step 3: Check for edges that might not have stuck properly. If there are any, just go over it with the iron couple of times more before checking again.
And that's it… All done!
Now wear and parade ;)
Happy DIY-ing…
Love always,
JBx


Comments
Post a Comment