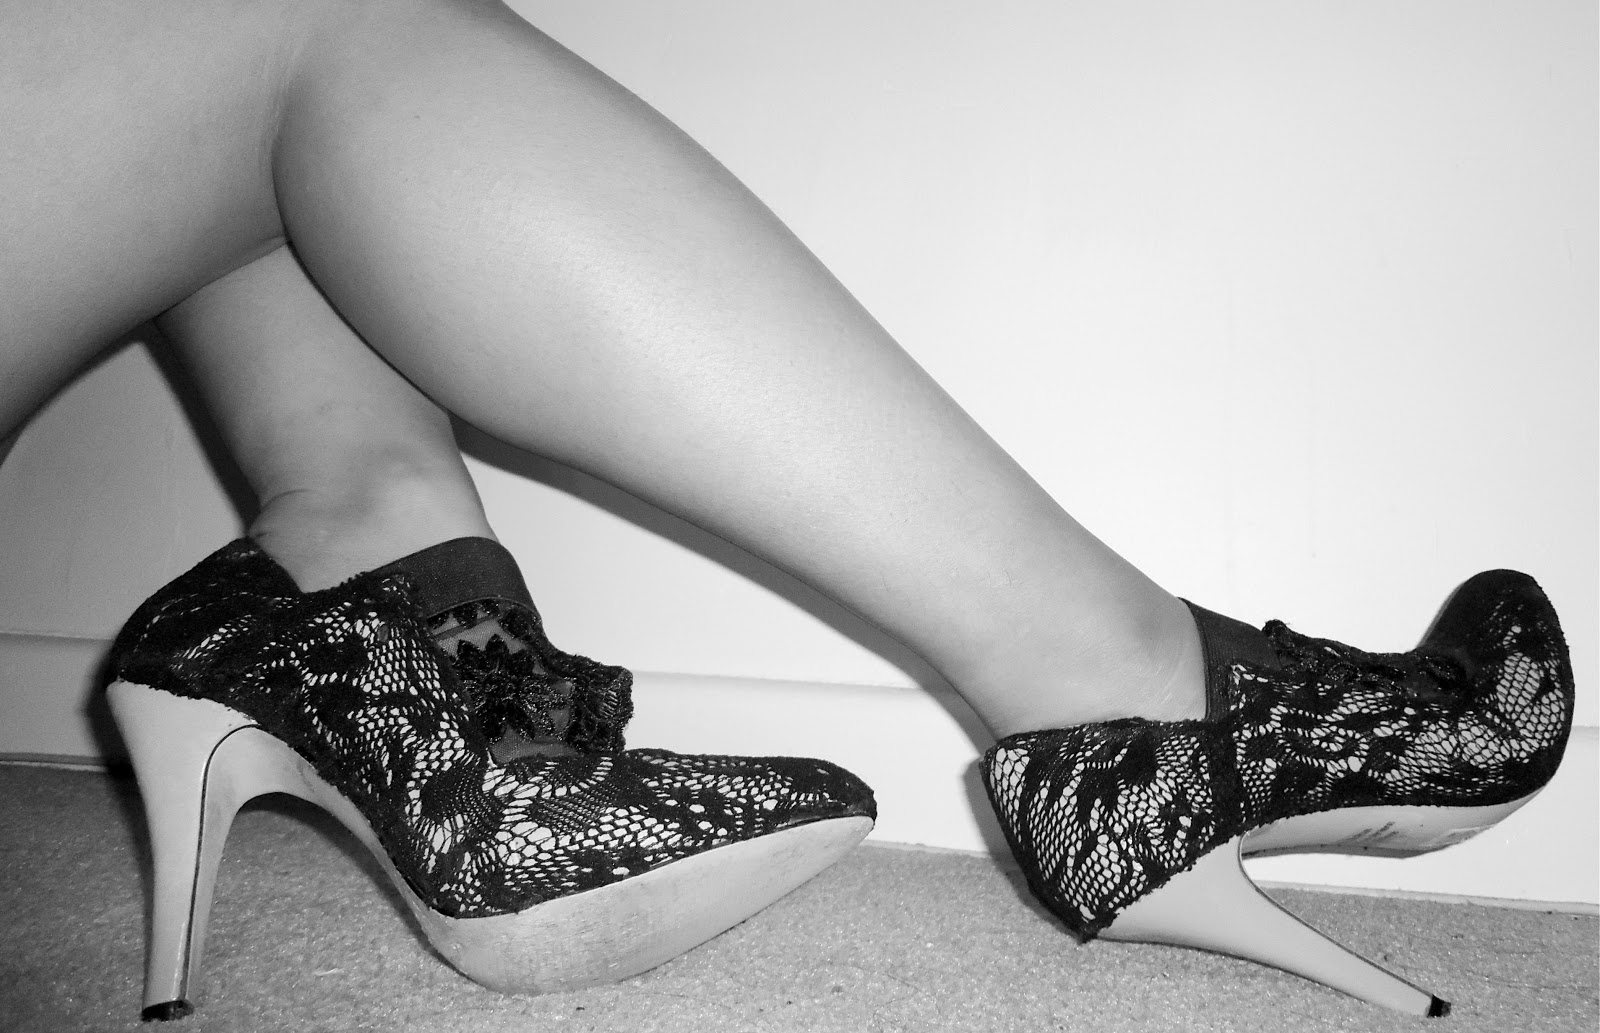
Such a diva! An absolute head turner. I just love her and her style... But alas! She is just too good a person I'd say… She gave those magnificent shoes away to a nagging friend of hers who just wouldn't stop begging for it! Can you believe that!?!?! If it was me, honey you could beg all you want, I wouldn't part with such gorgeous shoes of mine, unless of course, you are my best friend OR am in a mood to give away ;) But, my sweet friend is just too sweet and gave it away against her own wish… Bless her good heart!
Well, ever since I just couldn't shake the image of the shoes off my head… So, I searched for the booties everywhere much to my disappointment and dismay. Even ebay had it sold out, or just not in my size :( Ultimately, I decided to take things in to my own hands and make one of my own!
To start with, this is the one that I planned to base my design on:
 |
| D.E.Licious!!! |
 |
| My nude shoes… |
Fancy!!!
Well, here we go… For this DIY, I collected the following items:
1. A pair of nude shoes (a black pair could go nicely too)
2. A pair of black lace pantyhose
3. Black lace trims
4. Fabric glue
5. Scissors
 |
| All the tools! |
But before we start with the procedure and explanation let me tell you, I actually hated doing the DIY… Although I honestly absolutely LOVE the outcome! It was messy, time consuming, the glue took looooong to dry, and me being clumsy, had to fix the edges, then re-fix it, then re-fix it some more from time to time!!! But don't be put off by this, I am only being honest… If you love DIYs and you are good at it (not a clumsy novice like me) you would actually love it especially for the gorgeous end result! There is nothing better than creating your own wonders :) Am I right ladies?!
Anyway, here's what I did:
Step 1:
First of all grab one of your shoes and cover it with fabric glue.
Glue it up! Glue it up!
Step 2:
Next, take the black lace pantyhose that you can get from boots, Primark, ebay or any retail shop for about a quid or 2, and put the glue covered shoe through one of the legs of the pantyhose. Tie it up at one side or two to smoothen out creases.
My pantyhose
 |
| Tie it up tightly to keep it in place |
| Piece of advice: I chose cheap pantyhose just cause I didn't want to buy a lace fabric yet and end up wasting a lot of it (since it is my first of its kind). But you can very much as well use lace fabrics (stretchable or otherwise) to the maximum efficiency. |
Step 3:
Let the glue dry for a bit before snipping the sides and the middle. At this point you can either trim the edges or glue them down. What I found was that this step could be slightly tedious especially if you are working with extremely stretchy fabric.
Hope you enjoyed the DIY tutorial. Let me know what you think and how you'd like to do it yourself.
Until next time…
With Loads of love,
Until next time…
With Loads of love,
JBk


Comments
Post a Comment